Among the powers of Google Assistant, note-taking is one of them. You can use it to create notes in any note-taking app of your choice by using the command ‘Note to self.’ The first time you use this command, you will be asked to choose the default app. Let’s say you select Google Keep Notes, then new notes will be added every time you say ‘Create a note’ or ‘Note to self.’ What if you want to save the notes in Evernote or any other notes app? How do you change the default note-taking app on Google Assistant? You will find the answer here.
Change Default Note App
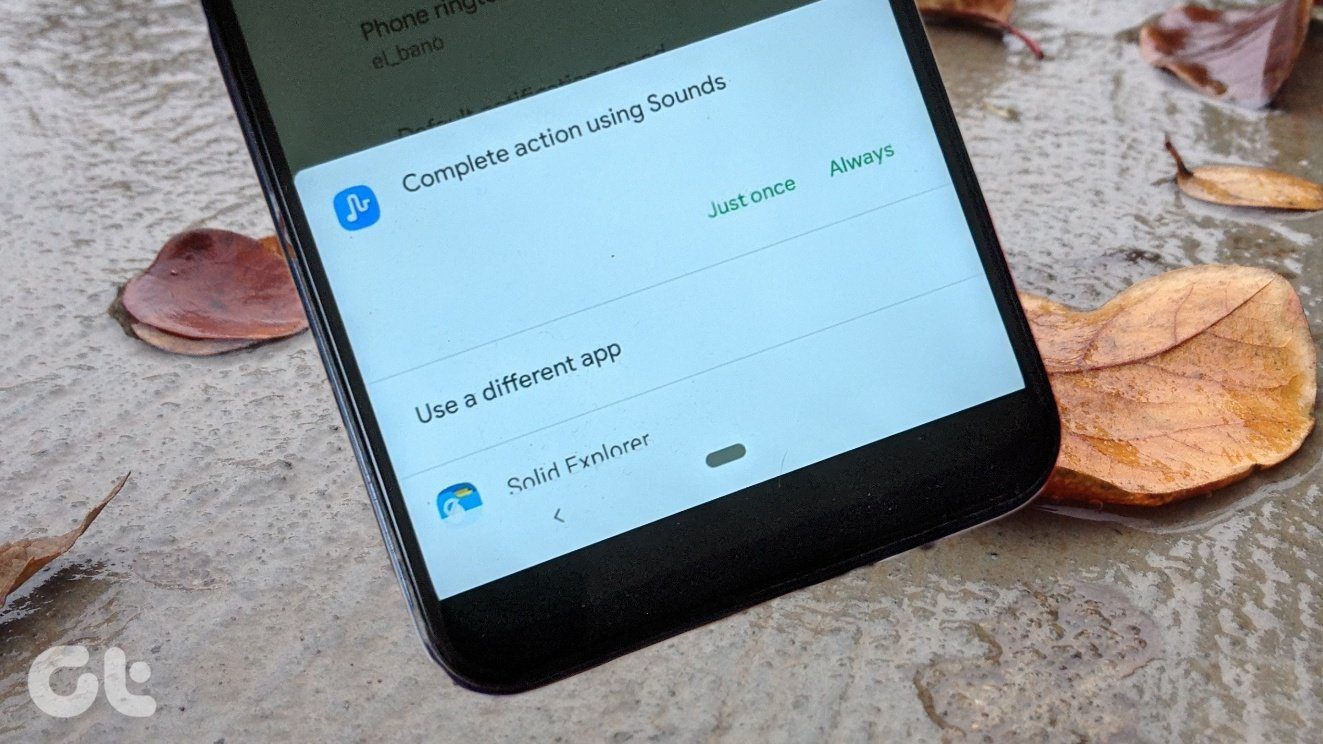
Here’s what you need to do to change the default app on Google Assistant. Step 1: Launch Google Assistant by saying the command Ok Google or by holding the home button. In case the Ok Google command isn’t working for you, try these solutions. Step 2: Say the command ‘Note to self’ or ‘Create a note.’ Step 3: On the screen that appears, tap on the Note to self option. I know it’s not an intuitive button, but that’s how Google offers it. Here you will find all the supported apps. Tap on the app that you want to use and it will become your default note-taking app through Google Assistant.
Switch Among Note Apps
As you know if you say the command Create a note or Note to self, followed by the note text, it will be saved in the default app. At times, you would want to add notes directly in other apps too without going through the above steps. To do so, launch Google Assistant and give the command, ‘Create a note in Evernote’ or ‘Evernote to open a note to self.’ Replace the word Evernote with the name of the app that you want to use. Congratulations! You have mastered the art of switching between compatible note apps.
Note to Self Not Working
If you still use Gmail to save notes via Google Assistant, at times the notes don’t show in Gmail. Usually, Google emails you the notes whenever you use the Note to self command (if you select Gmail as the default app) to create some. But if for some reason you aren’t getting the notes, we would suggest you install the Google Keep Notes app. If you have it on your phone already, open it to check for the notes created via Assistant.
Bonus Tip 1: Use Google Assistant to Remember Things
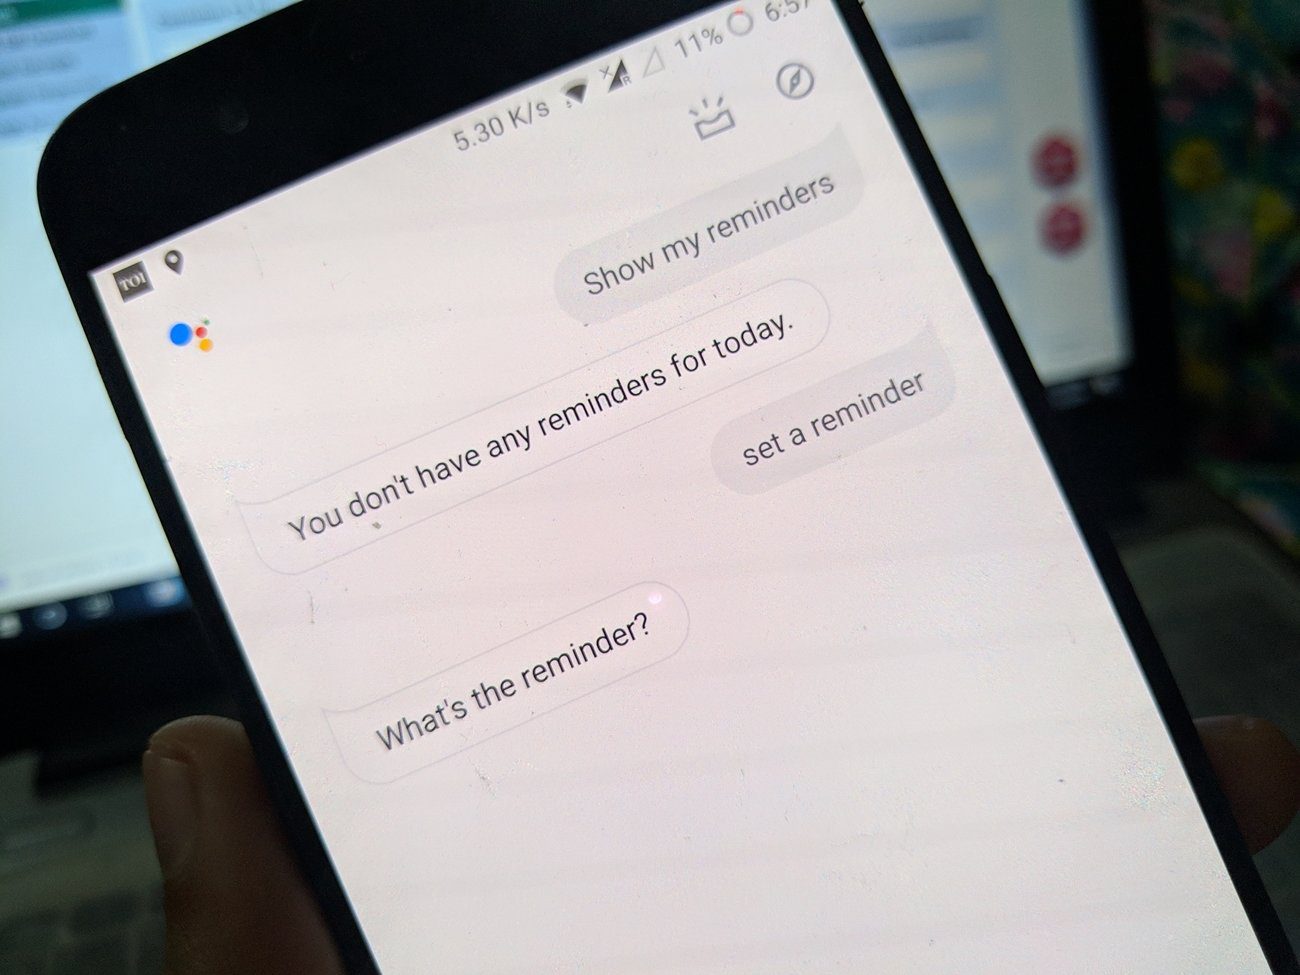
Google Assistant supports note-taking using a third-party app, but it also comes with a native ability to remember things. Here’s how to make Google remember things for you. Step 1: Launch Google Assistant on your device. Step 2: Give the command Remember followed by what you need Assistant to remember. For instance, Remember the car is parked at 22G or Remember the keys are in the drawer. Step 3: Then, when you need the information, launch Assistant and give the command ‘What did I tell you to remember about the keys’ or ‘Where is my car parked?’ If you want to see all the things that you have asked Assistant to remember, say, ‘What did I ask you to remember?’. Use the command Forget to make Assistant forget the things. If you have multiple items, you will get separate options to forget them. Yes, of course, you cannot use this feature for all your notes, but it comes handy when you want to remember small things or for a short duration.
Bonus Tip 2: Add a Nickname
While you cannot change the Google Assistant’s name (I wish we could call it something else), it lets you add a nickname for yourself. Meaning, you can change the name that Assistant uses to call you. To do so, follow these steps: Step 1: Launch Google Assistant and tap on the Explore icon at the top-right corner. Step 2: Tap on the three-dot icon at the top-right corner and select Settings from the menu. Step 3: Under Settings, go to Personal info followed by Nickname. Step 4: Tap the Edit icon next to the nickname and type a new name. Once set, tap on the Play button under Pronunciation to listen to its pronunciation. If you aren’t happy with it, use the Spell it out pronunciation option to get the perfect pronunciation.
Make Full Use of It
Taking notes with Google Assistant is an extremely useful feature. And the best thing is you can save notes to any app. Google Assistant has a native shopping list too. You can add items in it using the command Add to shopping list. So make full use of these commands and let us know how it goes for you in comments below. The above article may contain affiliate links which help support Guiding Tech. However, it does not affect our editorial integrity. The content remains unbiased and authentic.


