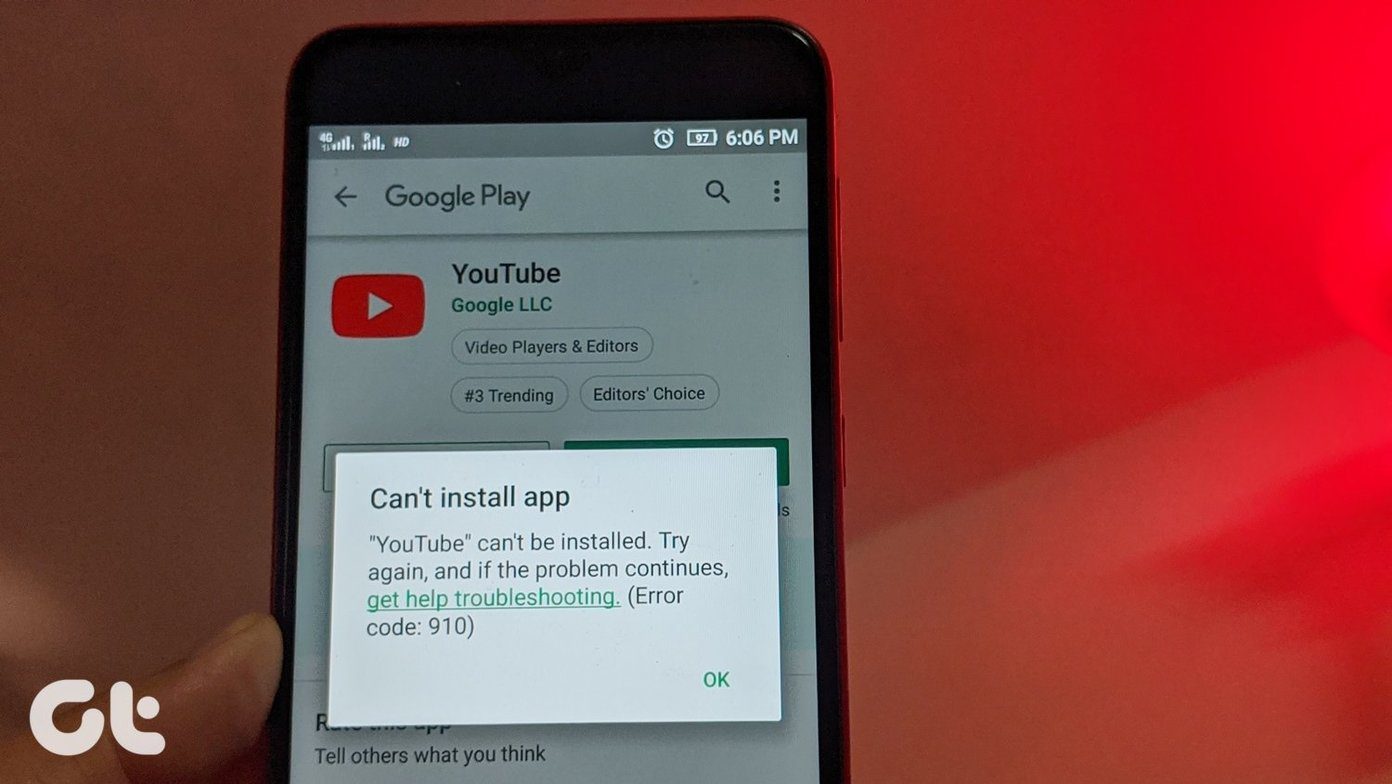
Android update failures can produce a variety of error messages depending on your phone model and the Android version it is running. Fortunately, it’s possible to fix such issues without resorting to drastic measures. Below are some effective troubleshooting tips you can try when your Android fails to install a system update.
1. Switch to a Faster Internet Connection
Android system updates, especially those that add new features, can be between 500MB to 1.5 GB. Hence, using a stable internet connection when downloading these updates is vital. To start, you can run a quick speed test on your phone and verify the strength of your internet connection. Alternatively, you could switch to a different network connection to see if that helps. If you’re connecting to a Wi-Fi network, use the 5 GHz frequency rather than the 2.4 GHz frequency for better download speeds.
2. Charge Your Phone
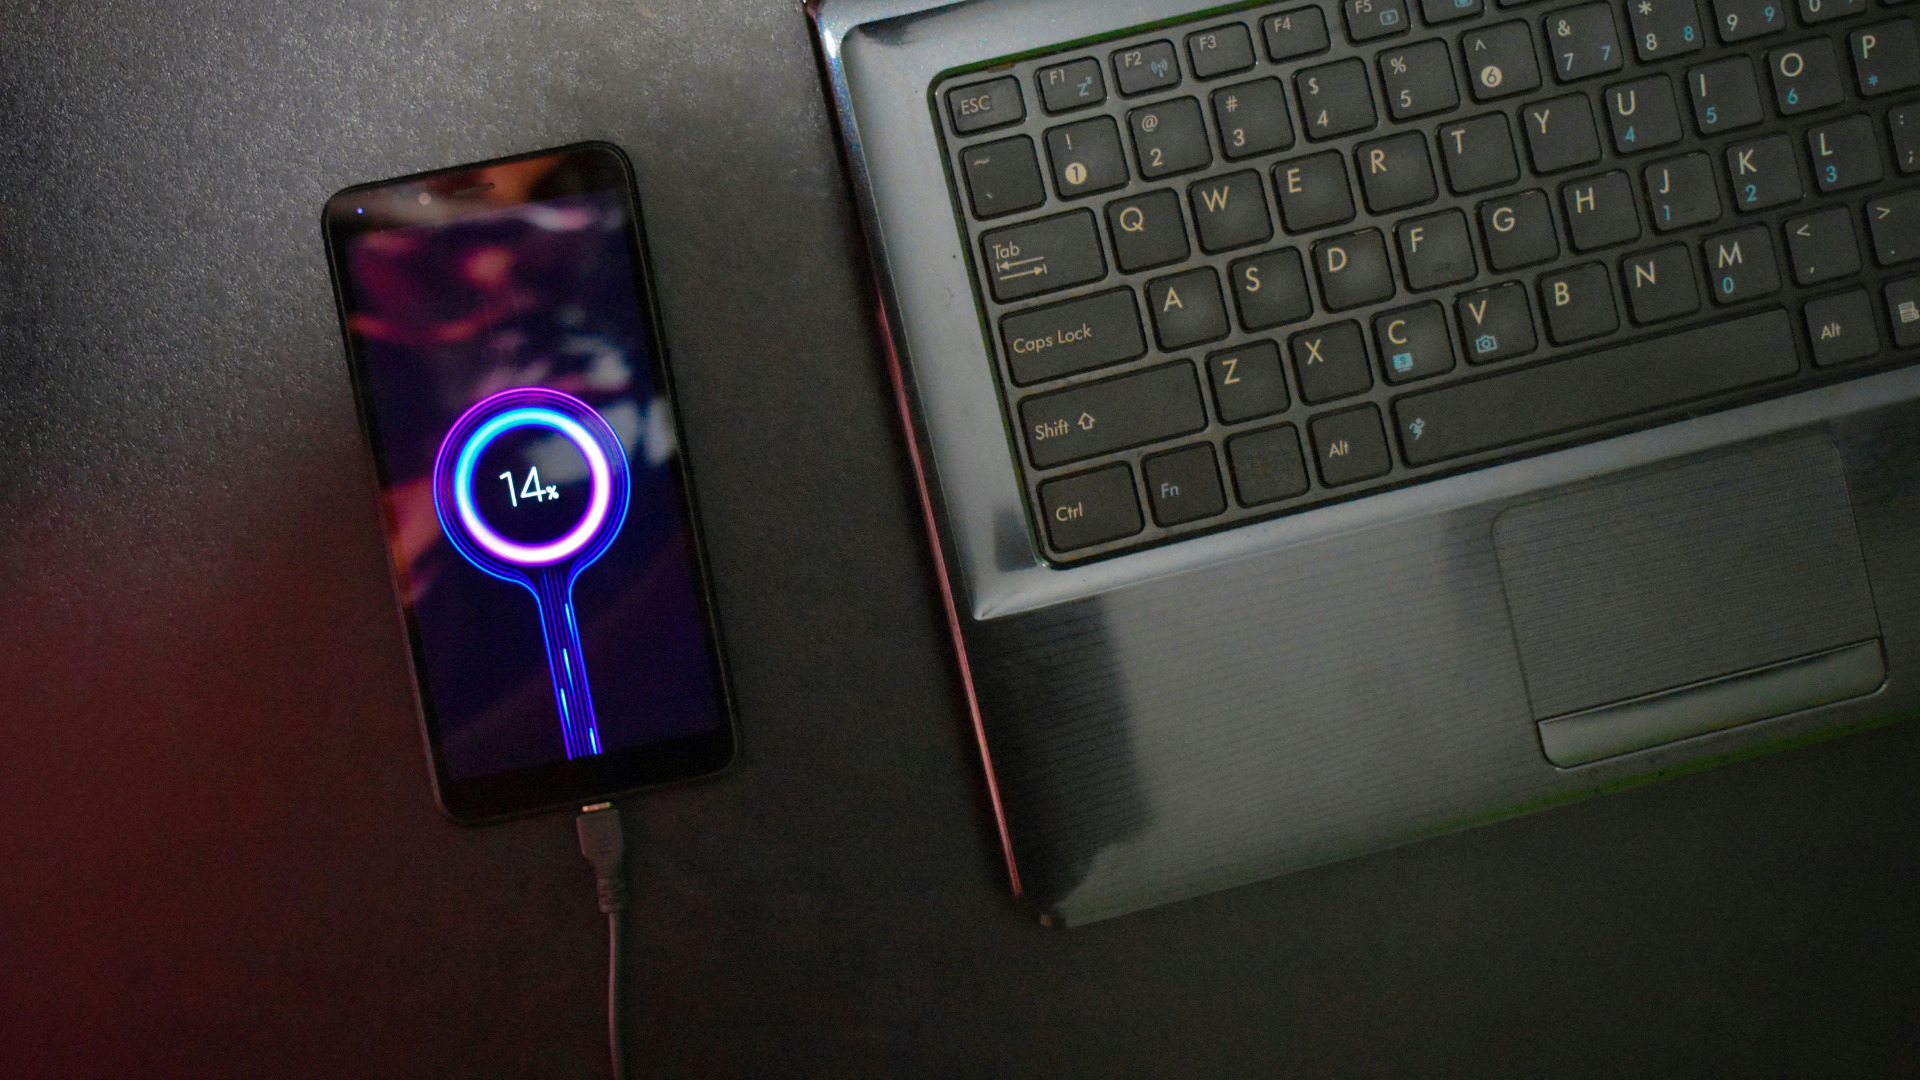
Installing system updates takes time. Your Android phone may not install an update if it does not have enough battery power. This prevents your phone from shutting down in the middle of an update.
Ideally, you should make sure that your phone has over 50% battery before you install any update. You can also leave your phone plugged in to ensure that it does not run out of power.
3. Free Up Storage Space
A lack of storage space can also lead to the ‘Android system update failed to install’ error. It is, in fact, one of the most common reasons why Android updates fail to install. You’ll need to check your phone’s storage status to rule out this possibility. Head over to the Settings app and tap on Storage to view a breakdown of the storage.
If your device is running low on storage space, delete unwanted large files or transfer some of your media files to the cloud. Conveniently, you can also free up storage space on your Android without deleting apps. Once you’ve increased your free space, try to install the update again.
4. Correct Date and Time
Your phone may not connect to the update servers if it has an incorrect date and time. When that happens, your phone may fail to download system updates. To avoid this, you can configure your phone to use the network-provided date and time by following the steps below. Step 1: Open the Settings app on your phone and navigate to General Management.
Step 2: Tap on Date and time.
Step 3: Enable the ‘Automatic date and time’ option.
After that, see if you can install the update on your phone.
5. Restart Your Phone
Sometimes software glitches or background apps can prevent your phone from installing software updates. Restarting your phone should help clear the local cache memory and resolve any temporary hiccups. So, if the problem persists, you can reboot your phone and then try to install the update one more time.
6. Install Updates in Safe Mode
If you’re here, it’s safe to assume that none of the above solutions worked for you. In that case, you can try installing the system update in Safe Mode. When you boot your phone into Safe Mode, it runs without third-party apps or services. That way, your Android should be able to download and install the system updates without interference. Follow the steps below to enter Safe Mode on your Android. Step 1: Press and hold the power button until power options appear. Step 2: Tap and hold the Power Off icon.
Step 3: Tap on the green checkmark to enter Safe Mode. Your phone should reboot immediately.
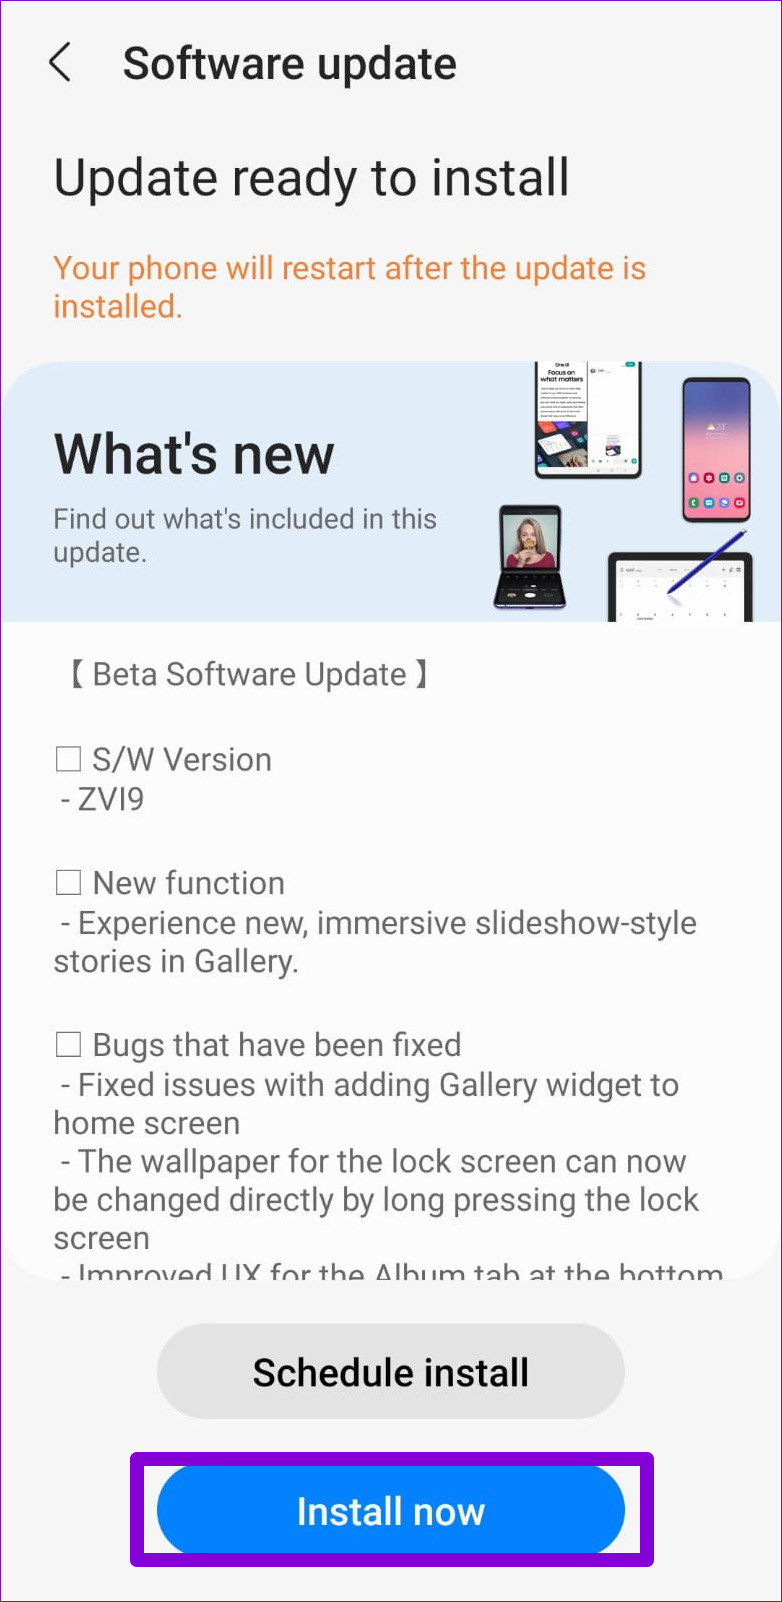
After you’re in Safe Mode, open the Settings app and head to Software Update. Download and install the software update and see how it goes.
Stay Updated
Often, the lack of storage space or an internet connectivity issue keeps your Android phone from downloading or installing system updates. Unless you’ve previously rooted your phone or are running a custom ROM, one of the solutions listed above will work. Let us know which one worked for you in the comments below. The above article may contain affiliate links which help support Guiding Tech. However, it does not affect our editorial integrity. The content remains unbiased and authentic.


